Guides
Key FOB Programming by Yourself

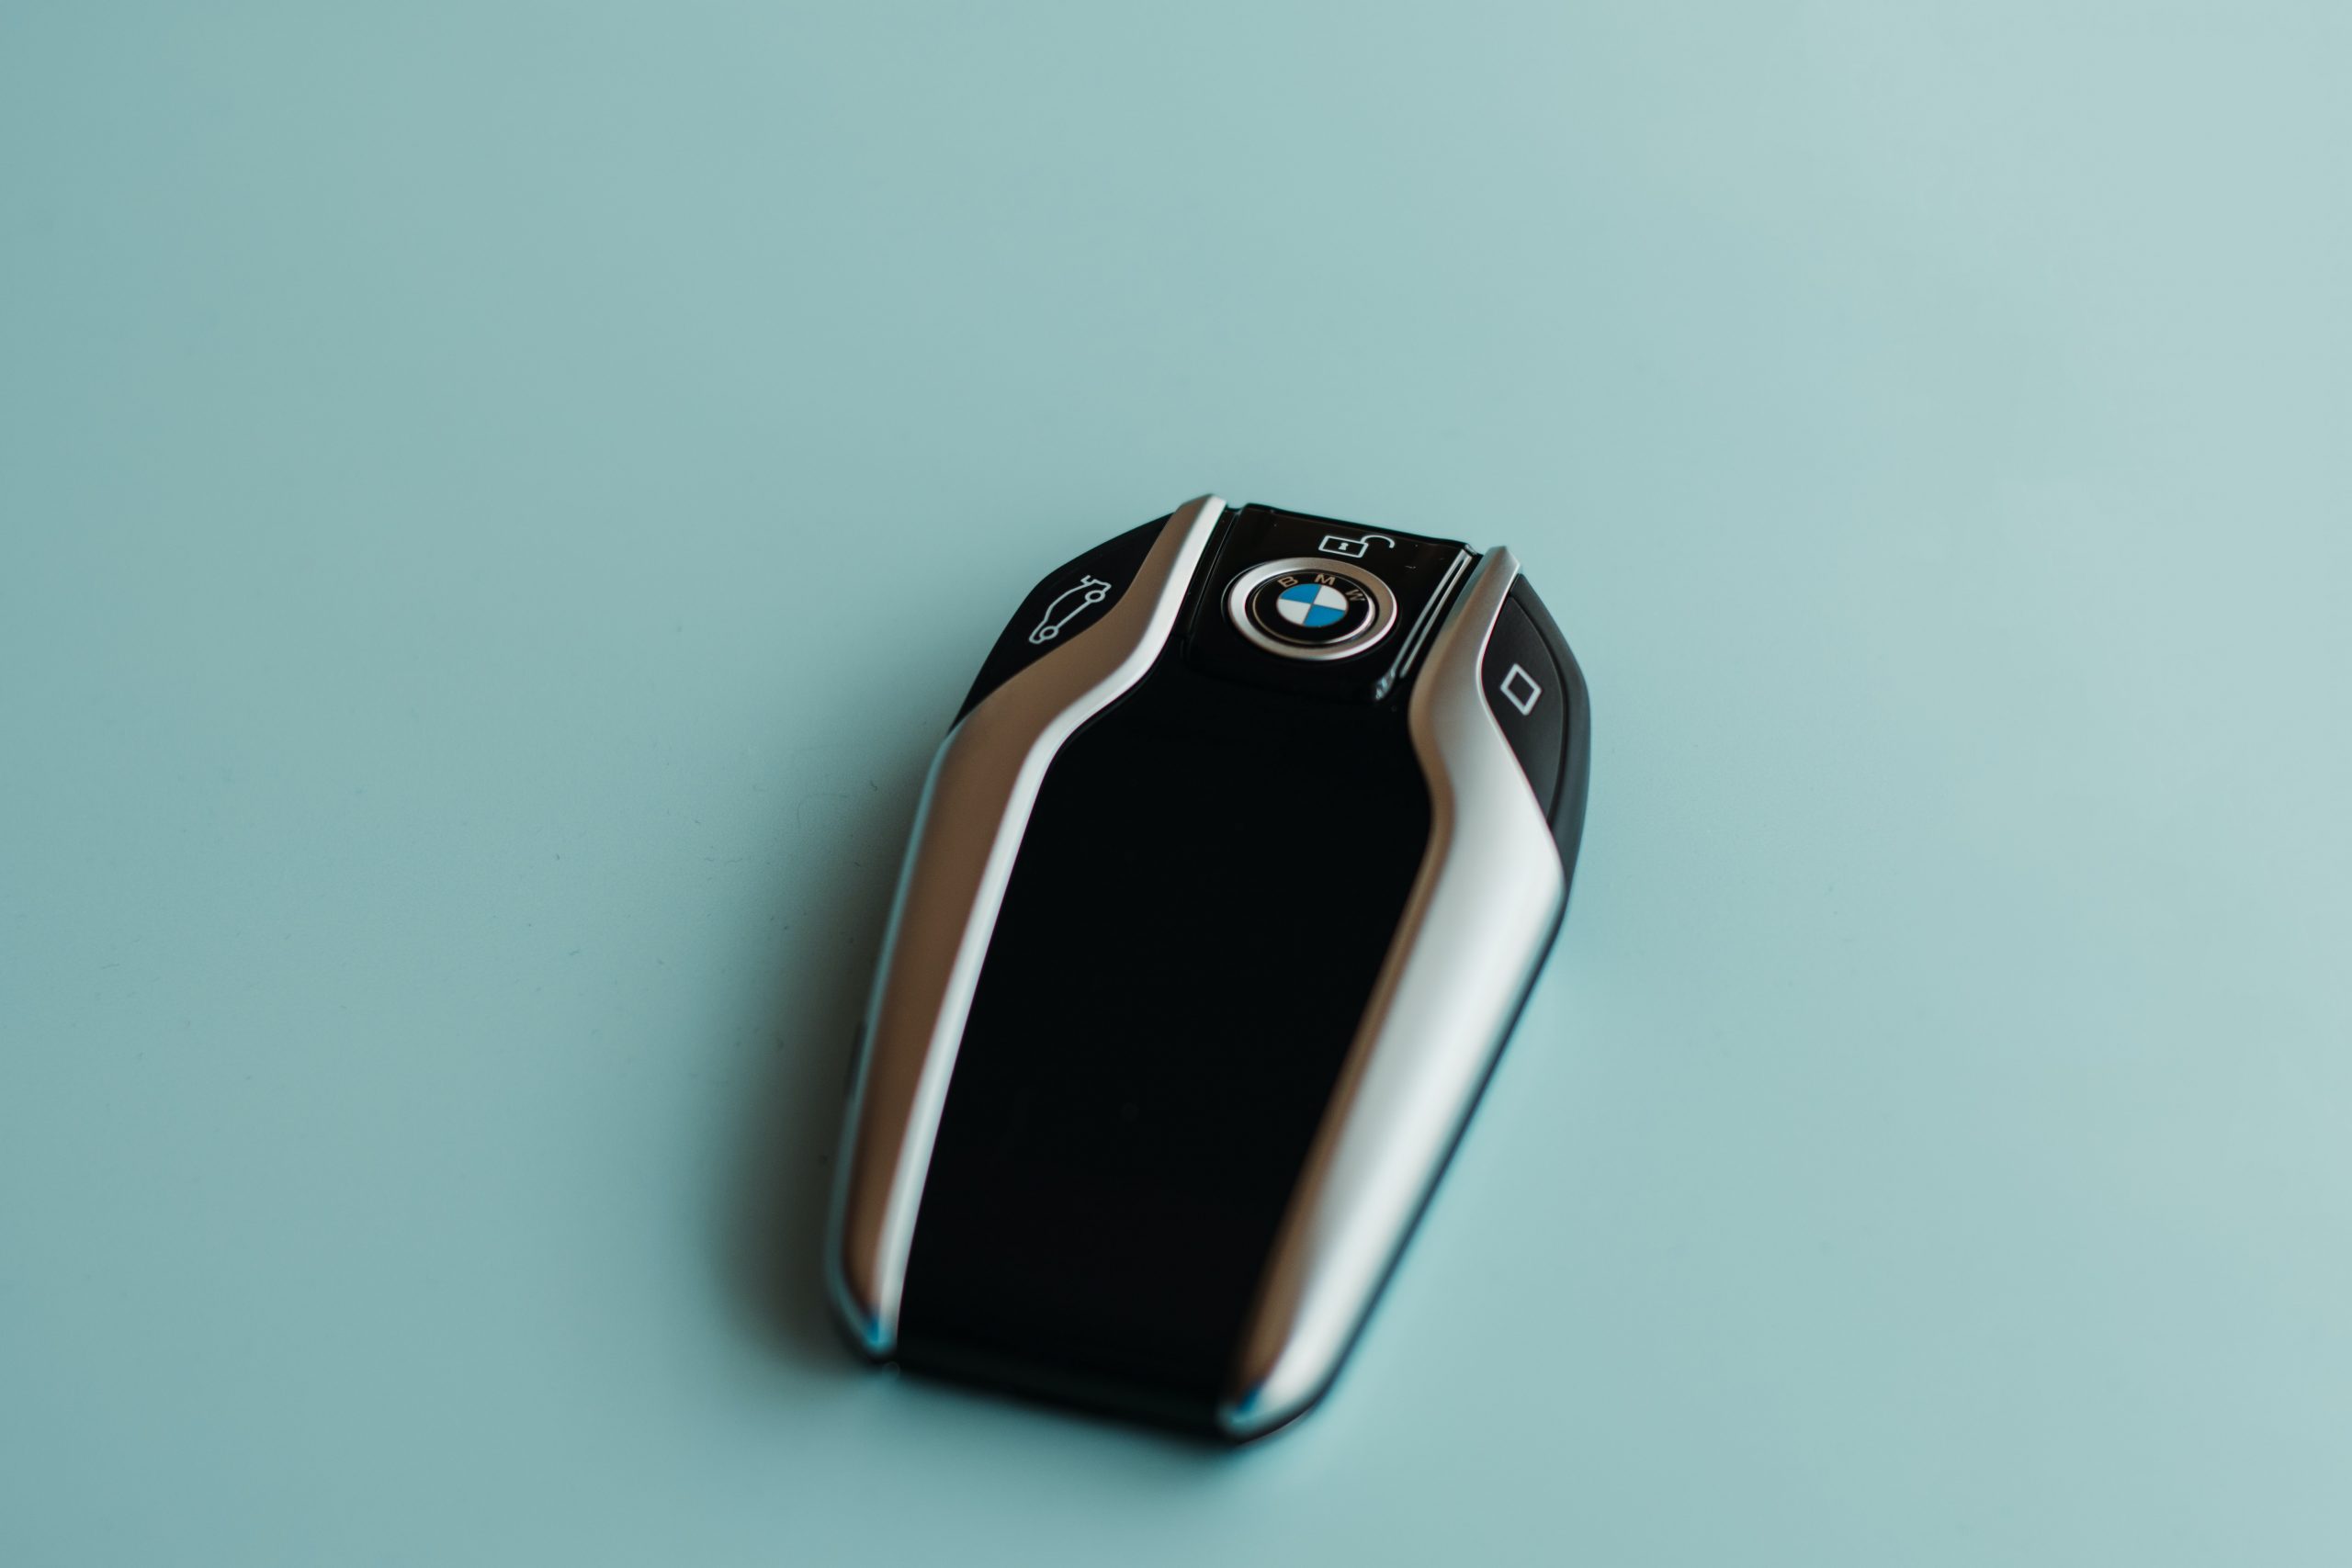
Key fobs are digital car keys. They help regulate your car’s doors, alarm, and trunk. With the help of key fobs, you can start your car even from a distance. These keys are electronic devices and are likely to malfunction at any time. Mostly, they do so due to signal loss. Whenever such situations occur, you need to reprogram the key yourself so that you can use it as and when required.
Reprogramming these keys hardly takes a few minutes. If you take the electronic key to a nearby store, you will have to pay some bucks to get the work done. We have given a detailed step by step guide on how to reprogram the car keys yourself.
How can you reprogram a key fob?
The process of reprogramming the key fobs varies from vehicle to vehicle. Different cars have different ways to reset the car keys. The steps listed below are the simplest methods can one follow to reprogram any electronic key in general. This guide will help you reprogram most car keys. Let’s go through the process mentioned below without delay.
1. Change the batteries inside the key fob
Your keys might malfunction probably because their batteries are dead. So, before following any other step, replace the batteries inside. A poor battery will make your entire reprogramming process futile. You can find the batteries available easily at affordable prices. You can take them to a store for replacing or refer to the guide book to know how to replace key fob batteries.
2. Get inside the car
Now, take the electronic keys with you inside the car. Close all doors. This is important because open doors might disturb the process while you try to reprogram.
3. Turn on the ignition
Once you have taken the seat with all doors closed, insert the electronic key into the ignition and switch it on. Consequently, all electrical systems are turned on. However, the ignition must not be in the radio mode. You must also be mindful that you do not start the engine by mistake.
4. Press the lock button on the remote key
Now, with the ignition on, press the lock button on the key fob and switch it off. Now, repeat this process three more times. So, you perform this action four times in total. In the last cycle, keep the key turned on. This will send a signal to all the electronic control units that the car key is on, which is sending out the signal.
5. Wait for the locks to sound
Once the above process has been performed, there will be a lock sound. If you hear that, it means you have entered the programming mode. Now, click on the lock button on the key fob again within a few seconds. The locks send signals again to indicate it’s programming successfully.
6. Switch off the ignition
Once you have heard the lock sound, you can turn off the ignition to end the programming procedure.
7. Perform a mock test
Step out of your car with the key fob and close all doors. Now, test from a distance to see if all functions can be done using your recently programmed key fobs.
However, the above-mentioned process might not be applicable for particular car key fobs. In that case, professional hardware assistance might be needed. For that purpose, we advise you to contact your authorized car dealer and address the situation. You can also choose to re-encode the key fob from any mechanic store or company at comparatively lower prices. Whatever you choose to do, make sure the job is done by experienced professionals and not amateurs.
Guides
How to Get Temporary License Plates?

Last year, several foreign governments have made it compulsory for vehicles to display a permanent license plate. If someone hasn’t yet received the permanent one, the concerned individual must display a temporary license plate. Not just that, a few more rules have also been imposed on vehicle dealers. They can no longer use a pre-printed report of sale form for display. They must get an electronic report of sale, fill the form and do the needful.
Till 2019, the law permitted vehicles to be sold and driven without displaying any license plate for a maximum of 3 months. However, upon inspection, it was found that the absence of license plates has raised safety issues among the public. It has also led to losses in toll income. Consequently, the legislature passed a new law, asking the DMV to bring into effect a temporary license plate system. Currently, the job of providing temporary license plates to new vehicle owners is controlled by DMV.
Independent dealers can provide temporary license plates to their customers if the latter asks to. For that, dealers have to take part in the BPA program. They need to select any of the participating providers to get the electronic reports of sale and deliver temporary license plates.
Dealers who are delivering temporary license plates must ensure that they are correctly fitted to the back and front of the vehicle. Also, the electronic ROS form, especially the identification portion of it has to be pasted on the window of the vehicle when being sold in the manner that is mentioned by law. If the temporary license plate is lost, damaged, or broken, owners must contact their respective dealers and require a reprint of the same.
Documents required for getting the temporary license plate
Owners never get a permanent license plate right on the first day of purchase. Hence, they request a temporary one for 90 days. For requesting they need a few important documents to be attached. We have given a list of them below:
- Sale certificate or form 21
- Road Worthiness certificate or form 22
- Address proof of the owner
- Vehicle insurance proofs
- Pollution Under Control Certificate (PUC)
- Pan Card or Form 60 and 61( optional)
How to get a temporary license plate from my dealer?
Once you have arranged the above-mentioned documents, follow the steps mentioned below:
- Get your insurance done
- Contact your insurance providers and inform them about your investment. Ask them to draft an insurance policy and hand it over to you.
- Visit your local motor vehicles department.
- While you register your car under your ownership, apply for a temporary license plate at the same time.
- Attach the above-mentioned documents along with the form.
- Make the necessary payments. Fee charges also include tax and processing fees. You must note that this chargeable amount differs from state to state.
The information displayed on the temporary license plate
Your temporary license plate is an important asset indicating your ownership of the car. It
will have the following details mentioned in it:
- The unique temporary license plate number, different for everyone
- Vehicle identification number
- Report of Sale number
- Vehicle make
- Vehicle model year
- The expiration date of the license plate
- Quick response (QR) code
People have often asked a few questions about this new system and the temporary license plate. It needs to be mentioned that the unique alphanumeric code found in the temporary license plate will never match that of the permanent license plate. They must also know that these temporary license plates are only valid for 90 days or 3 months. Within that period, owners are asked to strange for their permanent license plates.
Guides
How to Get Rid of Mold on Car Interiors?

People who own cars can do possibly anything for keeping their cars well maintained and clean on the exterior. But, even the interior part of the car deserves an equal amount of attention and sometimes even more. If you are having a lot of worries about an unhygienic car or the one which is full of mold, then you must read this post till the end because we are going to discuss some very effective ways for removing mold in the interior of your car.
If you are thinking of ways to remove the accumulation of mold clusters from the Interiors of your car, then you must go to the methods enlisted below. However, an important point to be noted is that before you use any one of the methods that are enlisted below you must perform a test to check their effectiveness and to ensure that there is no reaction.
1. Non-iodised salt
This method requires you to make use of non-iodized salt in equal proportions. You will require a bucket in this process. You just need to fill up a standard size bucket with water that has non-iodized salt. You can use a spray bottle and a brush for applying the solution to your car interiors. After applying the solution all over the affected area, you are supposed to leave it for drying. A better way to get it dried is by exposing it directly to the sunlight.
2. White vinegar
White vinegar is very popularly known for its cleaning properties. It can remove mold in the best possible way. For cleaning the interiors of your car using white vinegar, all you need to do is pouring it into a spray bottle in a ratio of 8:2. Using spray bottles makes it easy for you to apply the solution all over the affected surface in the interiors of your car.
3. Clove oil
The most budget-friendly way of getting rid of mold inside the interiors of your car is using Clove oil. You can avail of the Clove oil from any pharmaceutical shop. You must keep in mind that Clove oil can sometimes be allergic to you so it is important to dilute the concentration before you use it. The percentage shouldn’t be more than 1%. The way of applying and cleaning is similar to that of salt. Although, it is better to keep it for a longer period since it assures better results.
4. Baking soda
If you are not willing to use any soap solution you can make use of baking soda. You just need to get the exact amount needed. Then, you must apply the prepared solution all over the affected surface and wipe it away after some time to let it dry.
5. Dish soap
You can also use dish soap for cleaning the seats in your car along with other parts of the interior too. You just need to develop lather by combing water with soap. Applying this solution all over the affected area. You can also do a bit of scrubbing to get rid of the mold permanently.
So, these are some highly effective things that can work great in the molds developed in the interior of your car. Molds developing in the interiors of your car can make it harmful for you to drive the car because it can cause several kinds of serious diseases. There are also certain items like a vacuum cleaner and protective gear while you are following any tip for cleaning the mold inside your car. All the above-mentioned items used for cleaning the molds can be availed very easily and at a low cost.
Guides
How to Get Rid of Moisture in Car Headlights?

If there are no bulbs in the headlight of your car or if the headlights in your have become dirty, it can severely affect your night vision while you are driving. Although many times, the issue is created due to moisture accumulated in the assembly of the headlight. If case you are thinking about the ways of getting rid of moisture in the headlights of your car, here are some effective tips and tricks that can help you in restoring the best field of vision for the headlight of your car. The tips are as follows:
1. Removing minor condensation
When you look carefully at a minor area of condensation developing up around your headlight, few very simple tricks can work without having to break the seal of your headlight. Breaking the seal in the lens of your headlight as well as housing is much easier, but if it is broken once, you have to be very careful about creating a firm seal when you go for replacing it.
Before removal of the seal, you need to check the vent of the headlights. The precise location of venting has to be dependent on the making and modeling of your vehicle. However, the majority of the headlight units comprise a vent which helps in the prevention of building up of condensation. A very common reason behind the occurrence of minor condensation is a jammed vent. This could be blockage due to debris, dust, or even spider webs.
2. Removal of major condensation
A major amount of condensation might need super effective strategies. Many tips can be tried, but that is dependent on the resources you have, the time limit, and the level of condensation. If you want to remove major condensation, you will have to remove the entire unit of the headlight. You can seek help from a serviceman to get instructions regarding removing the electronic, bulbs, plugs as well as other electrical parts. You just need to be very careful while removing the headlight and follow proper removal tips.
3. Prevention of moisture
The most important tip that you can use if you want to prevent further moisture from being accumulated on the headlights is the creation of a powerful seal. There are different products by which you can create a soft seal. At first, you must do a proper inspection of the seal to check if there is any kind of damage or accumulation of debris. If needed, you can also run a little bit of silicone sealant all over the area of the factory seal for ensuring that no moisture can get into the assembly.
4. Search for the parts you need
If you want to restore your headlight you have to invest a lot of time in doing the same. However, with just a few instruments and steps you can prevent an expensive headlight assembling process. You must find out all the necessary parts that you can need while assembling the parts of your headlight.
Accumulated moisture can be very dangerous for your headlights specifically when you are driving during the nighttime. Similar to fog and debris on the outer layer of the casing of your headlight, the moisture trapped within the seal can lead to the dimming of the lights and can also lead to blind spots. In some places, you cannot get your vehicle registered if you have a headlight fog. This can be the result of a leakage in the seal near your headlight which lets water get into the gap created at the back of the lens of your headlight.
Guides
How Much Does It Cost to Replace Brake Pads?

Brake pads play a vital role in automotive applications. Are you planning on replacing your brake pads? If so, do not worry, we will help you to replace your squeaky brakes. This article will help you to know how much does it cost to replace brake pads. This article will throw light on the replacement cost of brake pads.
Working of a Brake Pad
A brake disc is something that is attached to the wheel of your car which plays a vital role in stopping your car. The friction that happens allows your car to stop or slow down. If the brake pads of your car wear out, then you might experience a squeaking or grinding sound which is not good for your car. The replacement cost differs from one car to another as there are different types of cars.
Few things need to be considered while replacing your brake pads:
- The type of vehicle that you are using plays a vital role. Are you someone who has
- SUV type car or heavy vehicles like lorry, bus, etc? The replacement costs of heavy vehicles are a bit more compared to that of SUVs.
- The bigger and the heavier the vehicle the replacement expenses are more. The replacement cost of a vehicle is directly proportional to its size.
- The replacement costs of brands like Mercedes Benz, Audi, Jaguar, or a BMW the replacement cost of brake pads are much higher than the normal rate.
- The quality of the new brake pads that you purchase for replacement also plays an important role in assessing the overall replacement cost of the brake pad.
The average cost for replacing Brake Pads
When you purchase a new car from a showroom, say for instance Hyundai showroom the sales representatives guarantee the customers regarding the brake pads. They also ensure the customers in fixing the brake pads for a year or so. The replacement cost in the US ranges somewhere around $500 which includes the service charge as well. The replacement of brake pads will usually take some three to five working days.
How frequently should you change your brake pads?
It is advisable to change your brake pads after crossing 50000 miles. Some of them change or replace their brake pads after having traveled 25000 miles while for some vehicles the brake pads can be replaced after having traveled for more than 70,000 miles.
The frequency of replacing your brake pads again depends on the type of vehicle that you
have. But on average it is better to replace your brake pads after having driven for at least
50,000 miles.
3 tips to maintain your brake pads
- When you drive your vehicle it is good to be conscious of how many Kilometers you drive. This is a wonderful way of maintaining your vehicle and in turn, helps you preserve your brake pads. This is sometimes called eco-friendly driving.
- It is important to handle the brake pad while driving with a light foot. Usually, people who use the brake pad with the hard foot will have to pay more in replacing the brake pads compared to the light footers.
- It is important to give attention to the load that you carry as well. This will in turn help you to maintain your brake pads for a longer period.
The replacement of brake pads in your vehicle solely depends on what type of vehicle you have and its maintenance as well. You can opt for expensive brake pads if you want them to sustain it for a longer period. It is important to take care of your brake pads as it plays a vital role when it comes to driving vehicles.
Guides
Cleaning Headlights with Toothpaste and Baking Soda

Are you someone who loves to drive a car? Some people maintain their cars so well. Headlights of a car usually turn yellow so early and it requires attention in terms of keeping it clean. This article throws light on how well you can maintain your headlights without spending a single penny from your pocket. Here is a cheap and easy way to make your headlights shine brighter. All you want is toothpaste and baking soda to clean your headlights. Sounds pretty easy, right?
Let us quickly dive into this really interesting topic which can be followed by everyone to
clean their headlights.
Wonders with toothpaste
Toothpaste is something that all of us by default have in our homes. Toothpaste not only cleans your teeth but also can make your headlights shine brighter. Especially during the winter season, your headlights may become foggy. You can restore the look of your headlights to their original form with the help of toothpaste. Here are the steps as to how you can do it. This is a simple and less time-consuming procedure that can be followed even by a kid.
- Take a used toothbrush and apply toothpaste to it
- Before that wash your headlights with water
- Then apply the toothpaste using the toothbrush and spread it all over the headlights.
- Let the toothpaste sit on it for about two to three minutes
- Finally, wash it off with cool water
- Wipe the headlights with a soft towel
- You can instantly notice the difference in your headlights
Why is toothpaste used to clean Headlights?
Surfactants present in the toothpaste make it a wonderful cleanser. The chemical compound that is present in the toothpaste known as Sodium Lauryl Sulfate (SLS) contributes to getting back its original form removing the dirt present on the headlights. Shampoos and soaps also contain the chemical compound Sodium Lauryl Sulfate (SLS) but it works wonders with toothpaste when it comes to cleaning the headlights.
How to use baking soda to clean the headlights?
The next product that can be used to clean headlights is Baking soda. We all know that baking soda can be used to clean multiple things. Interestingly, it works wonders when it comes to cleaning headlights. Let us have a look at what makes baking soda a wonderful cleanser.
- Take a few tablespoons of baking soda, according to your requirement
- Then mix it well to form a paste using warm water
- Then apply it evenly all over the headlights and let it sit for a few minutes
- Then wash it off with water and wipe the headlights using a soft towel
- You will be able to get bright and shiny headlights in no time
In this way, you will be able to get rid of yellow or foggy headlights without spending money.
What makes baking soda an amazing cleanser?
Baking soda is nothing but Sodium bicarbonate, which is used commonly in almost all cleansing products like soaps, detergent, toothpaste, etc. The presence of alkali in Sodium bicarbonate helps you to remove dirt and unclog the headlights giving it a brighter look. Baking soda can be purchased from your nearby shop which costs less.
By using toothpaste and baking soda once a week to clean your headlights will make your travel easier and good. You can try cleaning your headlights without giving your car for water wash and all for which you will have to spend money out of your pocket. This is a simple hack that you can follow regularly and get instant results in no time.
Recent comments